2026 Compact SUV High-Clearance Hitch Options: What Actually Fits
If you’re tired of racks or carriers scraping on driveway aprons, a high-clearance hitch can help—without changing your SUV’s tow rating. This guide shows exactly how to find a verified-fit high-clearance hitch for compact crossovers, which receiver class and size to choose for bike racks and cargo, and when to pick OEM versus aftermarket designs to preserve sensors and departure angle. RV Critic walks you through ratings, model-year checks, EV/hybrid notes, installation costs, and test-fit tactics so you can buy confidently and avoid surprises.
What high-clearance means for compact SUVs
“A high-clearance hitch tucks the receiver tube higher and closer to the bumper to improve departure angle and reduce scraping for bike racks and cargo carriers. It changes geometry, not your SUV’s tow or tongue ratings.”
In practice, a higher receiver height can keep a hitch-mounted bike rack or cargo carrier from dragging on 12–15° driveway aprons and rutted campsites. For compact crossovers, the real win is accessory usability, not heavier towing.
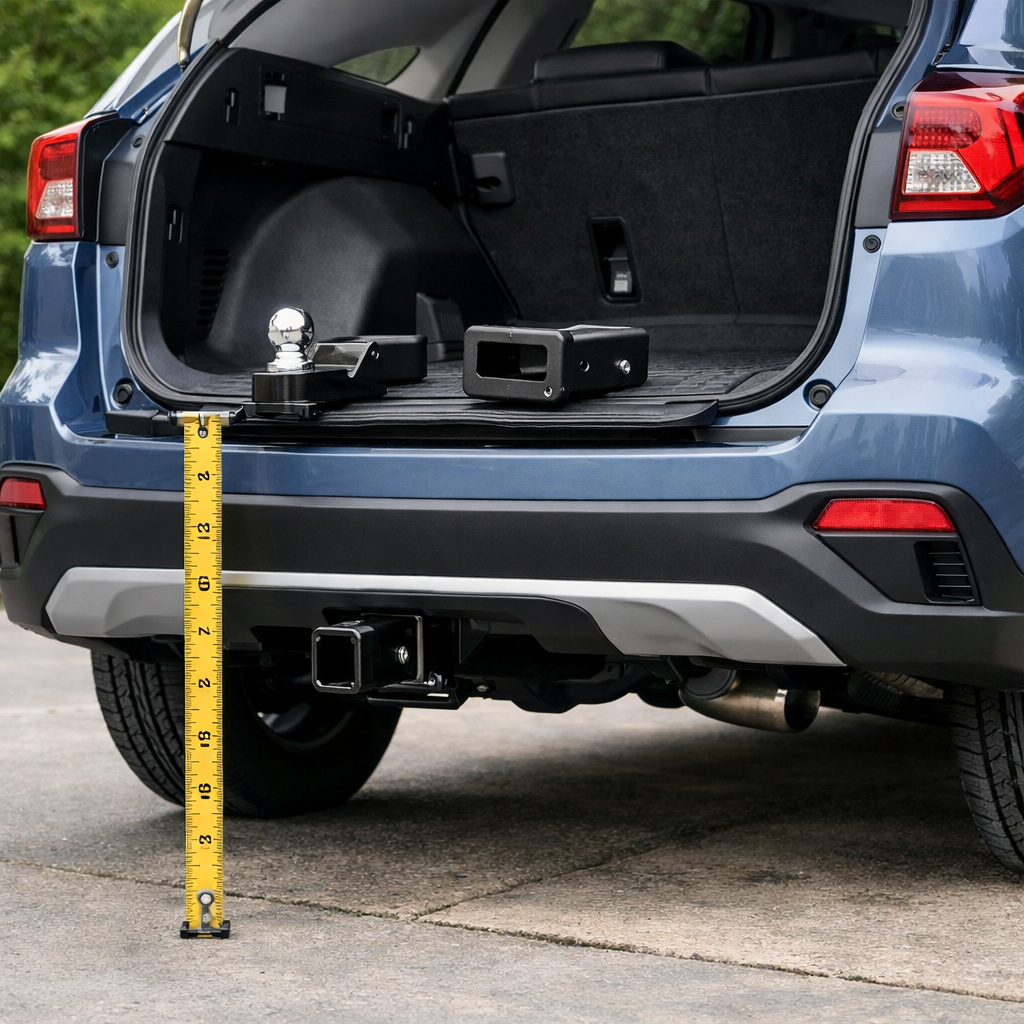
Tip: Visuals help. Use a simple labeled photo or diagram with:
- Bumper edge
- Receiver tube centerline
- Ground line
- Departure angle triangle showing the “before” and “after”
Fit and safety first for 2026 models
Start with guaranteed fit and protection of factory systems. RV Critic prioritizes preserving factory systems first, then chasing clearance. OEM hitches remain the safest path to preserve parking sensors, kick-to-open liftgates, and airflow; they’re validated for your exact model-year and often integrate cleanly with wiring. Aftermarket specialists, however, build model-specific high-clearance receivers that can markedly improve departure angle—just verify the details. For example, Torklift’s EcoHitch line highlights EV- and hybrid-friendly, accessory-focused fits for vehicles like the Subaru Solterra, positioned as a must-have for e-bike use with clear fit documentation and support see the Solterra e‑bike hitch guidance from Torklift. Likewise, CR‑V owners will find trim-specific notes and timelines in Torklift Central’s hitch guidance for the hybrid model year review the CR‑V hybrid hitch overview.
Before comparing brands or prices, confirm:
- Receiver size and class on OEM listings, and match to your accessories
- Aftermarket fitment notes tied to your exact year, trim, powertrain, and rear bumper style (good accessory guides echo this approach—see this succinct SUV accessories overview for context: SUV hitch bike rack guidance)
Quick fitment checklist:
- Exhaust and heat-shield clearance
- Rear parking sensors and cross-traffic modules
- Hands-free liftgate/kick sensors
- Spare tire well and jack access
- EV battery pack proximity and high-voltage cabling
Verify your SUV’s tow and tongue ratings
Your hitch must never exceed the vehicle’s published limits—and hybrids often vary by trim. Many compact SUVs can tow up to 3,500 lb when properly equipped with the right engine and tow package (examples in popular small-SUV roundups confirm these ranges) see Carfax’s small-SUV towing summary. Hybrid towing capability continues to expand—some hybrids in the broader market exceed 3,500 lb when properly packaged—so trim and equipment matter most see Car and Driver’s hybrid towing overview.
Step-by-step:
- Check the owner’s manual for max towing and tongue weight.
- Read the driver-side door-jamb/tire sticker for GVWR/GAWR context.
- Confirm ratings and any required tow/cooling package on the OEM site.
- Match the lower of vehicle rating vs hitch rating; never exceed tongue limits.
A quick fill-in table to capture your numbers:
| Model/Trim (VIN) | Max Tow (lb) | Tongue (lb) | Package Needed | Notes (e.g., hybrid-only rating) |
|---|---|---|---|---|
| Example: Toyota RAV4 Adventure | 3,500 | 350 | Tow Prep | Gas trim; verify cooler |
| Example: Ford Escape 2.0L | 3,500 | 350 | Tow pkg | Engine/package dependent |
| Example: Subaru Forester | 1,500 | 150 | None/Dealer wiring | Check hitch class |
| Example: CR‑V Hybrid | 1,000 | 100 | None | Hybrid-specific limit |
| Always verify these against your manual and OEM site before buying. |
Choose the right receiver class and size
“Receiver class categorizes hitch strength using standardized ratings (Class I–V). Most compact SUVs use Class II or III receivers with 1.25-inch or 2-inch openings. Choose a class that meets your vehicle’s tow/tongue ratings and supports intended accessories without overloading.”
- Most shoppers should target a 2-inch (Class III) receiver for maximum bike-rack and cargo-carrier compatibility—without exceeding vehicle limits.
- Class II (1.25-inch) can be sufficient for lighter accessories but narrows rack options.
- Avoid stacking a hitch adapter unless absolutely necessary; adapters typically reduce tongue weight and add movement.
Keywords to note: Class II, Class III, 2-inch receiver, 1.25-inch receiver, tongue weight, hitch adapter caution.
OEM hitches versus aftermarket high-clearance designs
Pros and cons at a glance:
- OEM
- Pros: Guaranteed fit, preserved sensors and airflow, clean wiring integration, warranty alignment
- Cons: May sit lower (less departure angle), fewer accessory options, higher cost
- Aftermarket high-clearance
- Pros: Better receiver height and departure angle, broader accessory fit, competitive pricing
- Cons: Requires careful fitment checks; may need sensor relocation/recalibration; installation complexity varies
Concrete examples:
- Torklift markets its EcoHitch for the Subaru Solterra as purpose-built for e‑bike carriers with detailed vehicle-specific guidance and support contacts—useful for EV packaging nuances see Solterra e‑bike hitch guidance.
- Torklift Central’s CR‑V hybrid coverage underscores trim/year specificity and offers fitment info and timelines that help owners plan installs and wiring review CR‑V hybrid hitch overview.
RV Critic tip: Use vendor “vehicle selector” tools and download install PDFs before purchase.
EV and hybrid fitment checkpoints
Use this quick checklist:
- Battery pack clearance and high-voltage cable routing
- Thermal shields and airflow paths to the rear motor/inverter
- No drilling into protected zones; follow torque specs exactly
- Hands-free kick sensor relocation kits and post-install checks
- Weight management: tongue weight is lower on many hybrids/EVs
Hybrid/EV towing keeps improving (some hybrids exceed 3,500 lb), but exact capability depends on powertrain and tow-package content see hybrid towing overview. Even with model-specific guidance—like the Solterra-focused EcoHitch notes—verify against your exact model year and trim before buying Solterra e‑bike hitch guidance.
Ground clearance, departure angle, and real gains
“Departure angle is the maximum slope a vehicle can descend without the rear overhang contacting the ground. A higher-mounted hitch raises the lowest rear point, reducing scraping with racks and carriers, but it does not increase towing capacity or change suspension limits.”
A practical rule of thumb: Raising receiver height by about 2 inches can prevent carrier drag on common 12–15° driveway aprons. This improvement preserves rack usability and minimizes damage but does not alter gross tow ratings, axle loads, or trailer stability requirements.
Consider a simple before/after line drawing to visualize the lifted receiver centerline and expanded departure angle.
Model-year changes that affect hitch fit
Redesigns and packaging tweaks—bumper beams, exhaust routing, sensor locations, and spare-tire wells—can change hitch compatibility even when the body style looks similar. Recent coverage of the 2026 Subaru Outback underscores how ongoing updates push crossovers to evolve, prompting fresh fit checks and new part numbers each year see Consumer Reports’ 2026 Outback review.
Before you buy, RV Critic recommends:
- Use vendor vehicle selectors and confirm model-year–specific part numbers
- Download install PDFs and read notes on trimming, torque, and sensor handling
What changed this year? Look for:
- Exhaust routing and heat shields
- Parking/kick-sensor locations
- Spare tire well dimensions
- Bumper beam and crash-structure differences
Wiring, sensors, and calibration considerations
Plan lighting and electronics up front:
- Determine connector: 4‑pin flat (basic lighting) or 7‑pin RV blade (brakes/charging)
- Many modern SUVs need a powered module for LED integration and CAN-bus monitoring
- Choose OEM or reputable plug‑and‑play harnesses for reliability
Sensors and calibration: Install hitch → Route harness → Test lights → Check sensor alerts → Calibrate if needed
Hitch additions can affect rear parking aids and hands-free liftgates; confirm if your kit includes relocation brackets or documented recalibration steps (fit notes in accessory guides are helpful for this due diligence) SUV hitch bike rack guidance.
Installation and cost planning
What to expect:
- Time: 1–3 hours for typical bolt-on installs; add time for fascia trimming, sensor relocation, or EV shields
- Costs:
- Hitch: $250–$700
- Wiring: $40–$200
- Labor: $150–$400 (dealer rates higher; EV/hybrid complexity adds time)
- Accessories: anti-rattle device, hitch pin/lock, rise shank if needed
Warranty tips:
- OEM hitches/wiring integrate cleanly with manufacturer support
- Reputable aftermarket brands publish step-by-step guides and offer technical support; EcoHitch-style documentation and help lines are good signs CR‑V hybrid hitch overview, and are what RV Critic looks for when evaluating options.
Test-fit strategies for bike racks and cargo carriers
Before committing, RV Critic recommends validating clearance with your actual gear:
- Measure ground-to-receiver height at the hitch centerline.
- Note bumper overhang to the receiver pin hole (affects hatch clearance).
- Test an unloaded rack in your steepest driveway approach.
- Confirm hatch access, license plate/taillight visibility, and plug reach.
- Add a rise shank or adjustable platform rack shank if the receiver sits low; use an anti-rattle device to limit movement.
Keywords to consider: e‑bike rack, platform rack, hitch rise adapter, carrier departure angle.
Maintenance and inspection for hitch hardware
Stay safe with quick, periodic checks:
- After first 100 miles of towing: re‑torque mounting bolts
- Quarterly: inspect bolt torque, welds for cracks, receiver rust, wiring chafing, and hitch pin wear
- Rust prevention: touch-up paint, rust-inhibiting spray inside receiver, and a rubber receiver cover
Replace now if you see:
- Elongating bolt holes
- Severe corrosion or flaking scale
- Bent shanks or distorted receivers
When a hitch is not the right solution
If ratings, fit, or cost don’t line up:
- Consider roof systems or interior cargo strategies; note height/garage limits and efficiency penalties
- For EVs, hitch-mounted carriers often preserve range better than roof boxes, but always count accessory and cargo weight toward tongue limits
- If your SUV’s limits are very low, look at lighter modular carriers, or rent a small trailer with surge brakes when appropriate
Frequently asked questions
How do I confirm a high-clearance hitch will fit my compact SUV?
Verify the OEM receiver size and rating, then match aftermarket part numbers to your exact year, trim, powertrain, and bumper. RV Critic’s fit checklists and vendor install PDFs help you confirm exhaust, sensor, and battery‑pack clearance.
Will a high-clearance hitch increase my vehicle’s towing capacity?
No—per RV Critic, a high‑clearance hitch only changes geometry and departure angle, not the SUV’s published tow or tongue ratings. Always follow the lower limit between the vehicle’s ratings and the hitch rating.
What receiver size and class do most compact SUVs support?
Most compact SUVs use Class II or Class III hitches with 1.25‑ or 2‑inch receivers; a 2‑inch Class III offers the broadest accessory compatibility. RV Critic still advises staying within your vehicle’s specific ratings.
How do EVs and hybrids change hitch selection and installation?
Confirm battery‑pack and high‑voltage cable clearance, airflow/heat shields, and any kick‑sensor relocation. Ratings vary by trim and package—RV Critic notes some hybrids tow more only when properly equipped.
How can I prevent rack or carrier drag on steep driveways?
Choose a high‑clearance or rise shank, keep heavier items close to the vehicle, and measure ground‑to‑receiver height. RV Critic suggests test‑fitting on your steepest approach and using an anti‑rattle device to limit movement.