How to Find Certified EcoHitch Installers for Tesla Model Y Near Me
Upgrading a 2026 Tesla Model Y with an EcoHitch invisible hitch is straightforward when you start with certified pros and a clear plan. If you’re asking “what’s the best place to buy and install an EcoHitch for 2026 Tesla Model Y near me?” the fastest answer is: use the official EcoHitch locator to identify certified shops, verify their Model Y experience, and book after you confirm parts, lead times, and documentation. This guide walks you through each step—from finding an Authorized EcoHitch installer and confirming the correct X7409 fitment to wiring, warranty, and what to expect on install day—so you can tow, carry bikes, and protect resale value with confidence. RV Critic’s stance is simple: prioritize certified work and complete documentation to safeguard safety and resale.
Start with the EcoHitch locator
Start by pulling 2–3 viable local options from the official EcoHitch Locator, which lets you search by city/ZIP and radius up to 1,000 miles and lists Authorized Retailers and Certified Installers familiar with Tesla Model Y fitment and EcoHitch inventory. Use the locator to get your shortlist, then call to compare availability and pricing. If you need help, contact Torklift Central customer support (800‑246‑8132) or product support (253‑854‑1832) for installer assistance and parts questions. RV Critic recommends a mixed shortlist: a national chain, an EV-focused specialist, and a local independent.
“Authorized EcoHitch installer — A shop vetted by Torklift Central that sells and/or installs EcoHitch products and commits to manufacturer fitment, torque specs, and warranty processes.” Using the locator ensures you start with verified contacts. See the official EcoHitch Locator for certified listings.
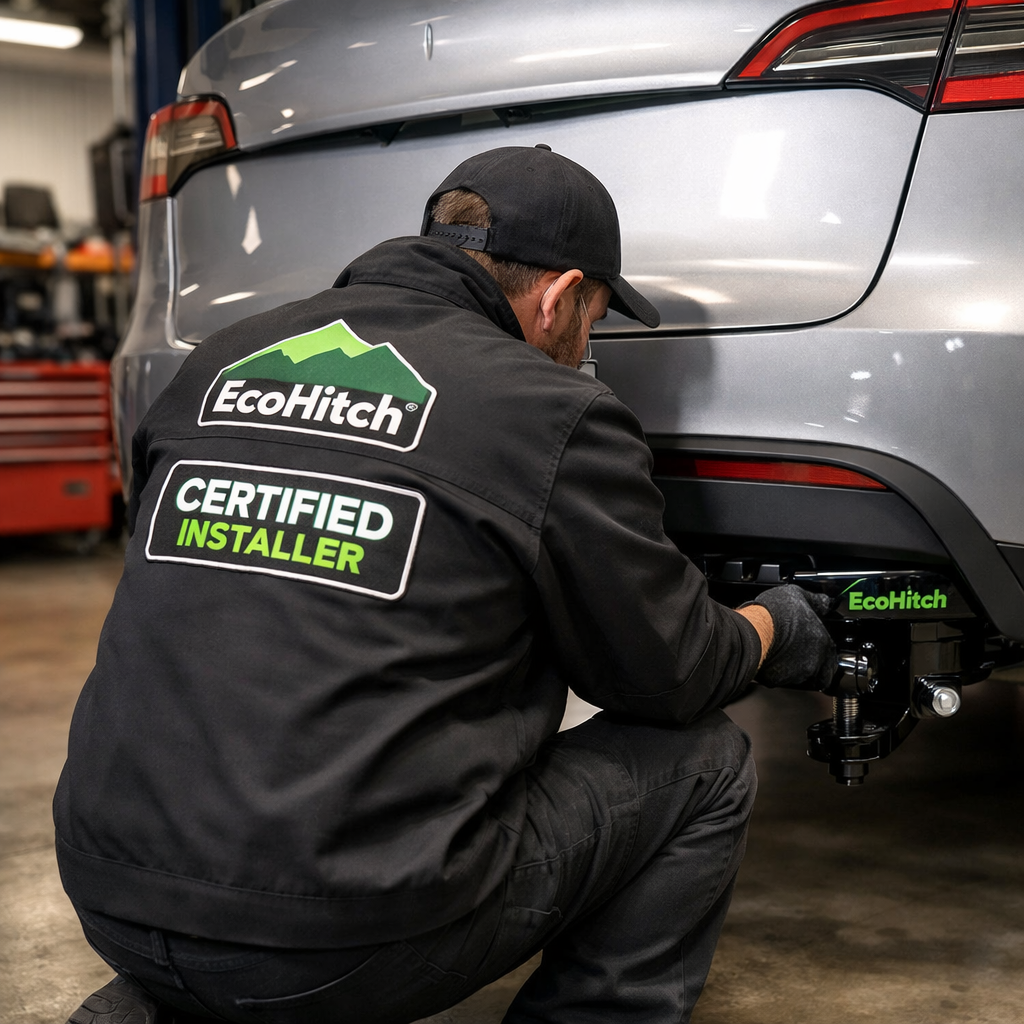
Verify authorized dealer and installer status
- Confirm each shop appears in the EcoHitch locator as an Authorized Retailer and/or Certified Installer. Save a screenshot or note the listing details.
- Cross-check the shop’s website for EcoHitch certification language and clear local contact info—see how a hitch specialist formats listings and contact methods in this example from Hitch Corner.
- Ask how often they install on Tesla EVs and whether they follow Torklift/Tesla torque and inspection guidelines. EV-focused shops often publish their EV-specific process and standards so you can confirm they align with manufacturer requirements.
Installer listing example (Hitch Corner)
Confirm the correct Model Y EcoHitch part and fitment
Ask each installer to identify and reserve the correct hitch for your VIN/model year. For the Tesla Model Y, installers commonly reference EcoHitch X7409 (ECOx series)—a one‑piece welded, bolt‑on receiver that delivers full towing and accessory capability. Confirm you are getting an invisible hitch configuration designed to mount behind the Model Y’s factory access panel while retaining the bumper beam and stock ground clearance. Also clarify receiver size and whether it’s a welded, non‑removable design, then verify compatibility with your use case (bike racks, cargo carrier, or Tesla Model Y towing).
“EcoHitch ‘invisible’ design — A concealed hitch that mounts behind the Model Y’s factory panel, keeping the bumper bar and maximizing ground clearance for an OEM look when not in use.”
For specs, receiver options, and kit contents (including optional harness bundles), see a product listing that details Model Y EcoHitch features and warranty.
Torklift Tesla Model Y tow hitch — product overview
Check inventory, lead times, and appointment availability
- Ask if your exact SKU is in stock; if backordered, get a target ETA and deposit/hold policy in writing.
- Request the next available appointment and confirm the shop will align the booking with parts arrival to avoid rescheduling.
- If parts are shipping in, clarify whether free contiguous‑US shipping applies and whether the hitch ships to the shop or your address.
Validate installation standards and documentation
- Confirm the shop follows Torklift/Tesla torque values, correct trim removal/reinstall procedures, and a final inspection that checks clearances and panel fit.
- Request a written pre‑/post‑install checklist with torque values and fastener locations. Typical steps include fascia/trim removal, bumper beam removal, positioning/bolting the hitch, torquing hardware, and reassembly (these steps are consistent with reputable Model Y install walkthroughs and training content).
- Ask about a post‑install inspection after 100–500 miles and how warranty claims are handled locally. EcoHitch products are commonly backed by a lifetime warranty—get process details in writing with your paperwork.
EV specialists often publish their approach to following Tesla and Torklift guidelines and can outline inspection and documentation steps up front. RV Critic favors shops that provide a torque sheet and wiring diagram without being prompted.
EV-focused installer example (process overview)
Confirm wiring options and electrical integration
If you plan to tow a trailer, you’ll need a lighting harness. Many sellers offer optional plug‑and‑play wiring kits that can be bundled with the EcoHitch, and certified shops can install them neatly and document cable routes.
- Ask whether the estimate includes a 4‑pin or 7‑pin harness, module mounting, and any brake controller integration.
- Confirm the shop documents wiring paths so cables are protected and do not interfere with sensors, trim, or the rear fascia.
“Trailer wiring harness — An electrical interface that connects your vehicle to a trailer’s lights (running, turn, brake), ensuring legal signaling and visibility. Installers add a dedicated module and connectors, then route wiring to the hitch receiver for a tidy, weather‑protected plug.”
Optional harness bundle overview
Compare installer types and choose the right fit
- National chains (e.g., U‑Haul): broad availability with 1,500+ install locations and extensive Model Y how‑to resources. Good when convenience and nationwide support matter.
- EV‑focused installers: specialize in Tesla procedures, torque/wiring specs, and final inspections—ideal if you want EV‑specific expertise and documentation.
- Local independents: long‑standing hitch pros familiar with EcoHitch hardware who offer personalized service and local accountability.
Community forums can offer real‑world notes on communication, wait times, and wiring proficiency. Scan recent Model Y threads before you book. RV Critic’s take: choose the shop type that matches your priorities after confirming EcoHitch experience and documentation.
Model Y installer experiences (community thread)
Get a written estimate and warranty details
- Ask for a line‑item estimate: EcoHitch SKU, labor hours, wiring parts/labor, any trim hardware, shop supplies, and taxes/fees.
- Request written confirmation of EcoHitch’s lifetime warranty coverage and how claims are handled locally.
- Have the installer list target torque specs and any additional hardware required for 2026 Model Y revisions.
Prepare your vehicle and finalize the booking
- Clear the rear cargo area and remove accessories that block trim panels.
- Arrive with sufficient battery charge; ask if any software settings or sensor checks are recommended post‑install.
- Confirm drop‑off time, estimated duration, and whether waiting on‑site is practical.
Post-install inspection and record keeping
- Keep the invoice, torque sheet, wiring diagram, part numbers, and warranty registration/receipt.
- Do a functional check: confirm panel fitment, receiver alignment, ground clearance, and trailer light operation.
- Schedule a follow‑up inspection after your first towing trip or 100–500 miles; maintain records to support warranty and resale value.
Cost, timing, and what to expect on install day
Most professional installs follow a consistent sequence: remove rear trim/fascia and bumper beam, position/bolt the hitch, torque to spec, reassemble panels, and verify clearances. Trusted installation videos for the Model Y reflect this process and provide a realistic picture of shop steps and time-on-task. Many DIY owners report about two hours for the hitch alone; pro timing varies with wiring and inspections.
- Expect roughly 2–3 hours for hitch fitment, plus additional time if adding wiring and brake controller.
- If your shop references updated 2026 parts or videos (e.g., EcoX walkthroughs), ask how that changes labor or the parts list.
Model Y hitch install steps and timing (video)
EcoHitch/EcoX install walkthrough (video)
Common mistakes to avoid
- Booking with a shop that isn’t listed on the EcoHitch locator or won’t confirm adherence to torque/wiring specs.
- Assuming the hitch will be invisible—verify the installer has Model Y experience preserving the bumper bar and OEM ground clearance.
- Skipping documentation and warranty details—capture lifetime warranty info and torque sheets for your records.
Frequently asked questions
How do I confirm an installer is certified to install EcoHitch on a Model Y?
Use the EcoHitch Locator to find Authorized Retailers/Certified Installers, then confirm Model Y experience and ask for a written torque/inspection process. RV Critic also advises saving a screenshot of the listing.
Do I need a wiring harness for trailer lights and who should install it?
If you plan to tow, yes—have a certified installer supply and install a harness and document the wiring for future service. RV Critic recommends a clean, labeled install.
Will an EcoHitch affect my Tesla warranty or safety systems?
Properly installed, vehicle‑specific hitches shouldn’t impact warranty; choose a certified shop that follows torque/wiring guidelines and provides documentation. RV Critic emphasizes keeping all install records.
How much does a professional EcoHitch install typically cost?
It varies by region and wiring needs; request a line‑item estimate for the hitch, labor hours, wiring parts/labor, and taxes to compare shops fairly. RV Critic suggests comparing like‑for‑like quotes.
What documentation should I receive after the install?
Get the invoice with part numbers, torque sheet, wiring diagram, and written warranty information; keep these for warranty support and resale. RV Critic recommends storing digital copies too.